Adding videos
A video comes into a project as an upload, an import from a link, a screen recording, a Vimeo or YouTube video, or the recording of a live broadcast. However it comes, it's encoded for streaming and shows in Assets as soon as it's in.
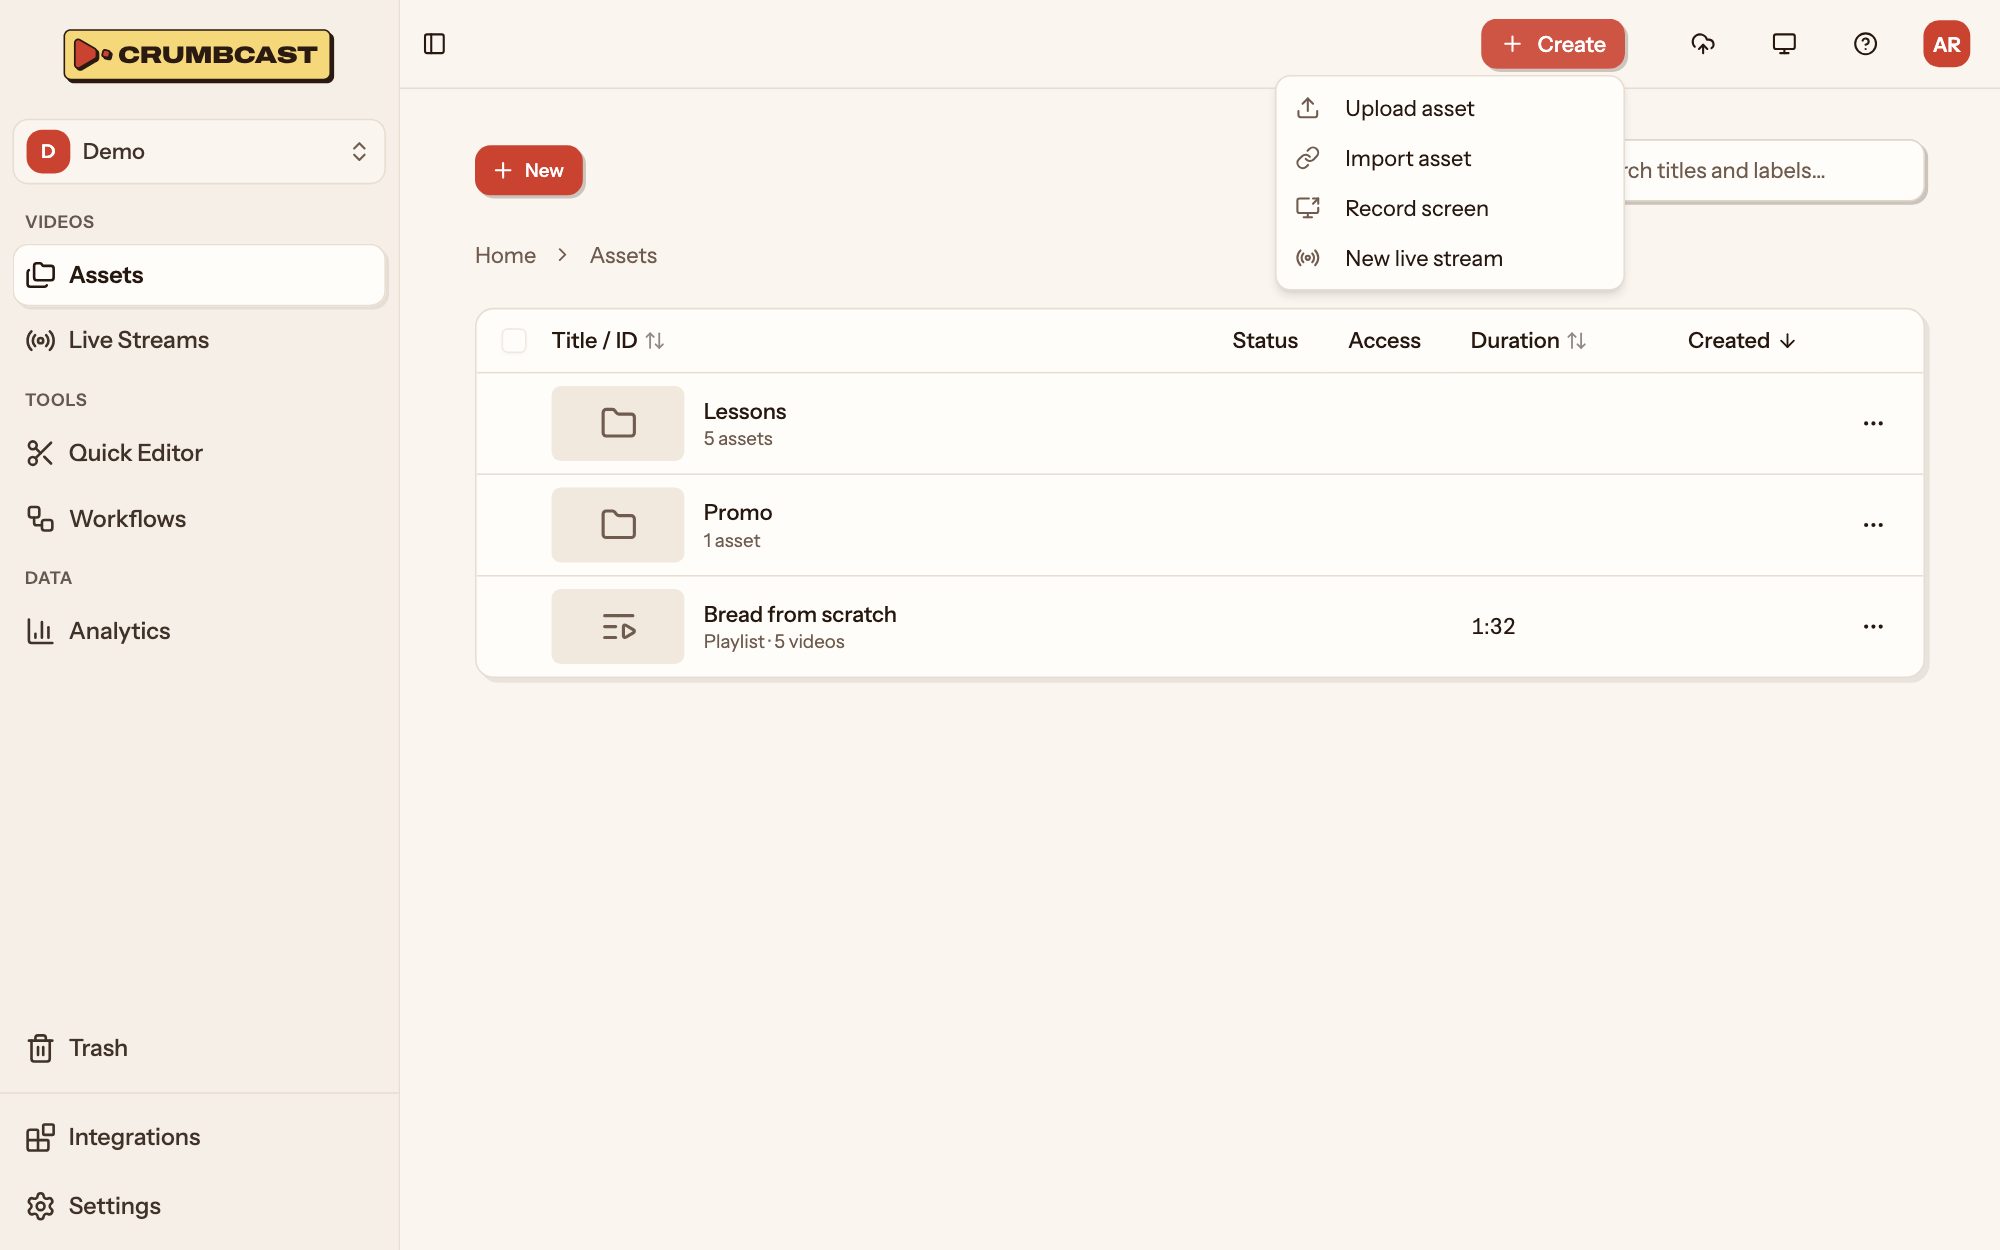
Upload a file
- Click Create, then Upload asset, or drop files anywhere on the Assets page or on the home page's upload box.
- Give each a title. You can change it later.
- Pick who can watch, how it's encoded and, if your organisation has more than one, which storage keeps it. A workflow can set these for you.
- Click Upload.
Uploads take MP4, MOV, MKV, WebM and most other video files. Keep the tab open until an upload finishes: the Uploads and Encodings panel at the top shows how far each has got. Once a file is up, encoding runs on Crumbcast's servers and you can close the tab.
Dropped into a folder, a file is uploaded into that folder.
How it's encoded
When you upload, Encoding sets how the video is prepared:
- Codecs: H.264 plays on every device and browser. H.265 (HEVC) is about a third smaller, for newer devices; AV1 about half, for recent browsers. Pick more than one and players use the best they support.
- Highest resolution: every resolution up to this one is made, never above the original. Lower uses less storage.
- Encoding quality: Basic suits most content; Plus keeps richer detail; Premium the finest. Higher uses more storage.
The video plays as soon as its first resolution is ready; the others follow. To hear when it's all done, open the video and click Email me when it's done. You can add or remove an encoding later, on the video's page.
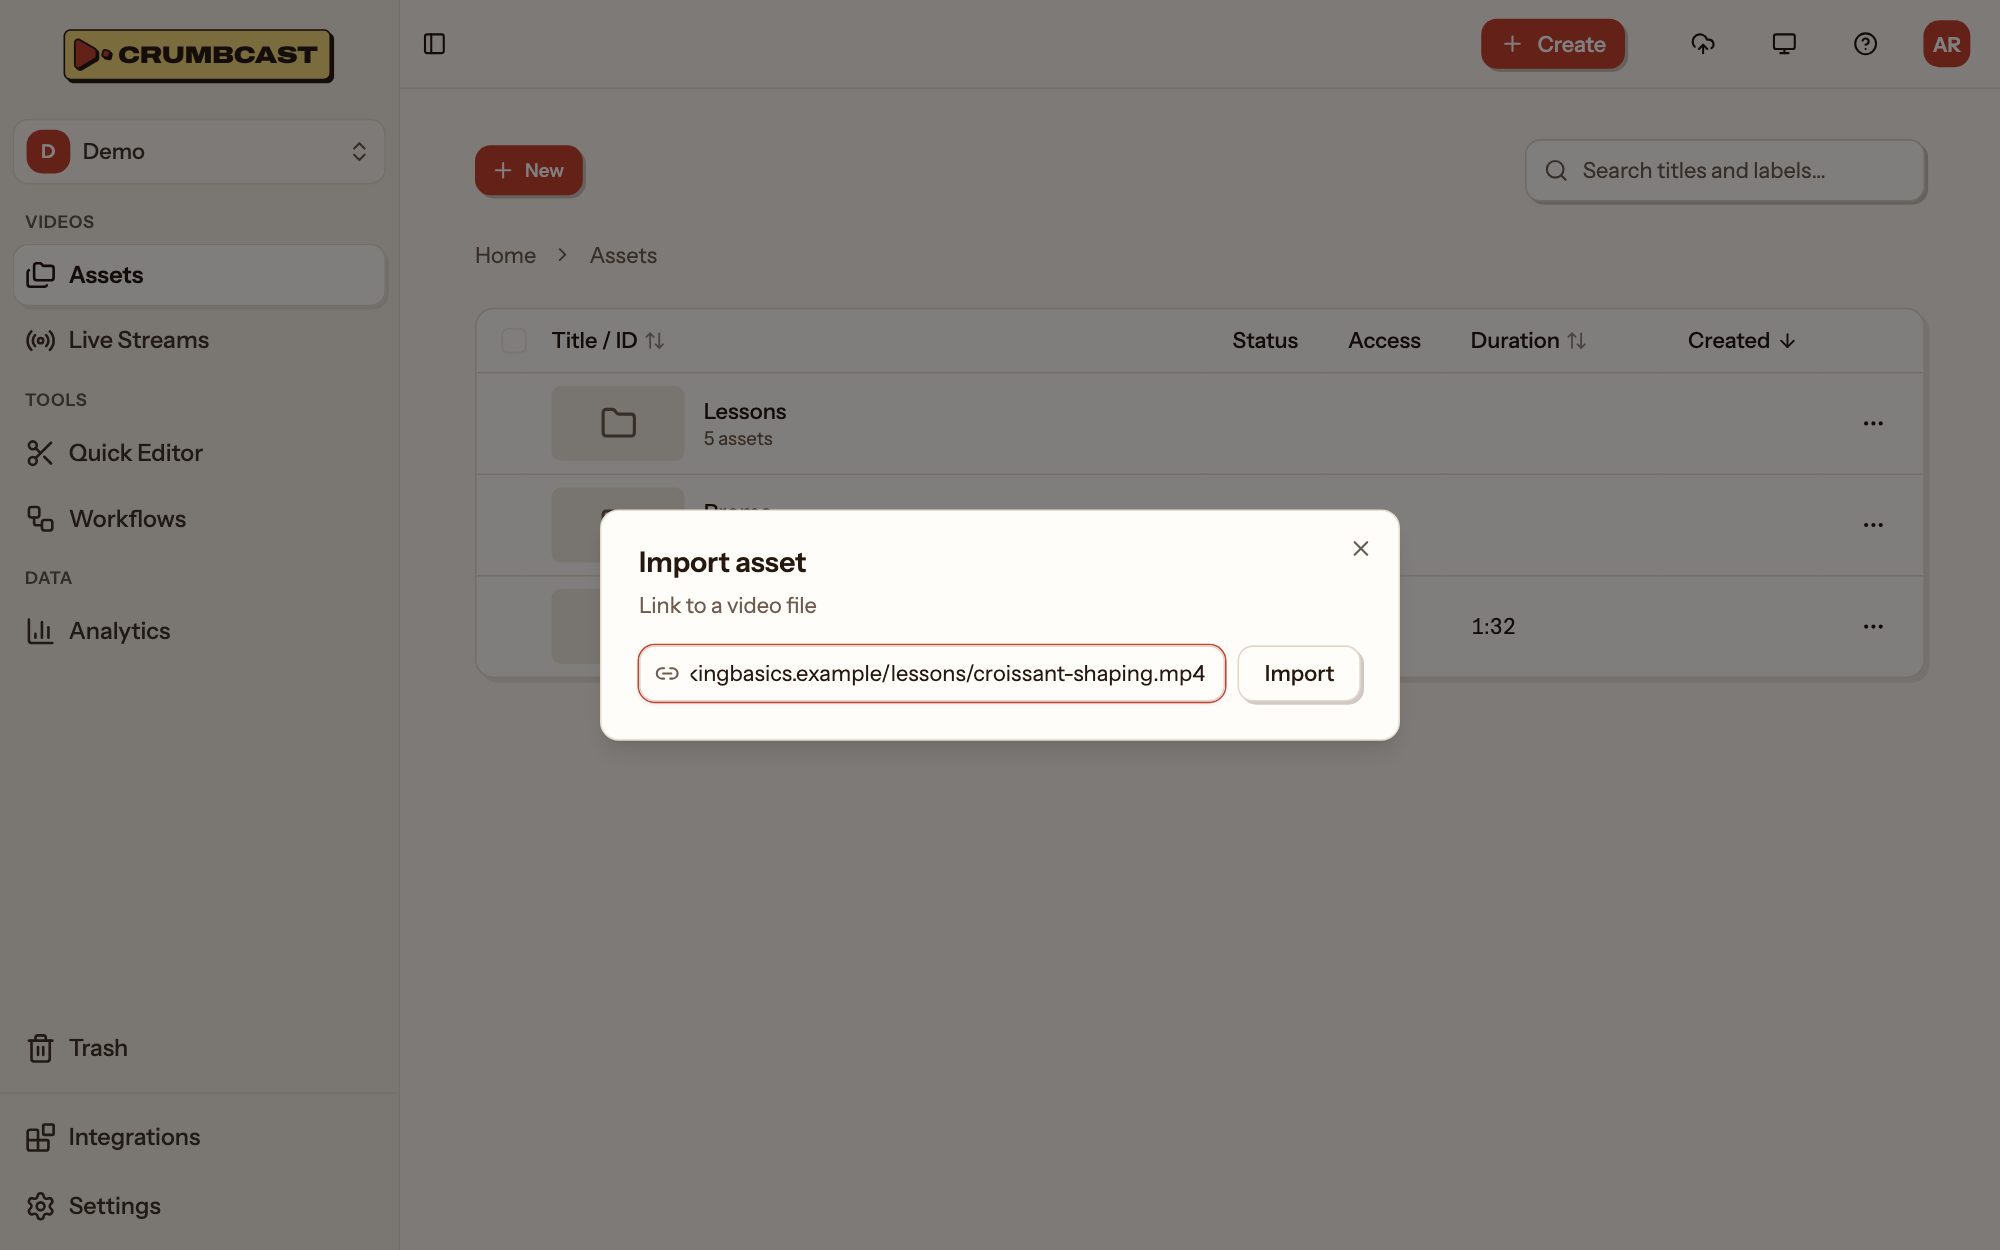
Import from a link
- Click Create, then Import asset (or paste into the home page's link box).
- Paste a link to a video file, such as
https://example.com/video.mp4. - Click Import, and pick its settings as for an upload.
Crumbcast downloads the file itself, so you can close the tab right away. The link has to lead to the file, not to a page with a player on it.
Record your screen
Create → Record screen records a screen, a window or a browser tab, then uploads it.
- Click Choose what to record, and pick it in the browser's dialog. To include a tab's or the screen's own sound, turn on sharing audio there (Chrome and Edge).
- Pick a microphone, or none.
- To show yourself, turn on the Camera, and pick the corner its bubble goes in.
- Click Start recording. After a short countdown, it's recording; pause and resume as you need.
- Click Stop and upload.
Keep the recorder open while you record: closing it discards the recording. If its tab closes before you stop, the recording stays on your computer, and the recorder offers to upload it the next time you open it. A recording stops at the longest video your plan allows.
Bring your Vimeo library
Connect your Vimeo account in Integrations, then click Import videos on it. Pick the videos to bring over and click Import: each comes with its original file, title, description, captions and custom thumbnail. Vimeo only gives files for download on its paid plans, and only once a video is done processing there; the list marks any it won't give.
Bring your YouTube channel
YouTube doesn't hand out video files, not even to the channel's owner, so you bring them yourself:
- Export your videos with Google Takeout: choose YouTube and YouTube Music, with videos only. Download the export and unzip it.
- Connect your channel in Integrations, then click Import videos on it.
- Pick the videos to bring over and click Continue. A video with no file on YouTube yet (a premiere or broadcast that hasn't happened) can't be picked.
- Click Choose files and select the export's video files. Files named after a video's title are matched to it; choose any it can't match on its video's row.
- Check the titles and settings, as for any upload.
Each video comes with its title, description and thumbnail from YouTube. Captions don't: make them from the speech (Captions and chapters). The list marks the videos already imported.
Replace a video's file
To put a new file in place of a video's, without a new link, open the video, go to its Settings tab, and under Video file click Replace file. Its links, settings, chapters and captions stay. The old file plays until the new one is in; then every encoding starts again.
On Sandbox
Sandbox lets you try everything without a card. On it, videos are cut to their first 30 seconds, marked with Crumbcast's logo, and deleted after 7 days. Each video says when it will go. To keep one, click Keep video on it after moving to another plan: it's encoded again without the mark, at the length it was cut to. Plan and billing has the plans.