For your developers
Three of a project's settings are for connecting Crumbcast to your own code: API tokens, signing keys and webhooks. Project admins make them in the dashboard and hand them to whoever builds on them; the rest of these docs is for that person.
API tokens
A token lets code, or an AI agent, use the project through the API and its MCP tools, with the role you give it: Viewer to read, Editor to upload and change videos, Admin for the project's settings.
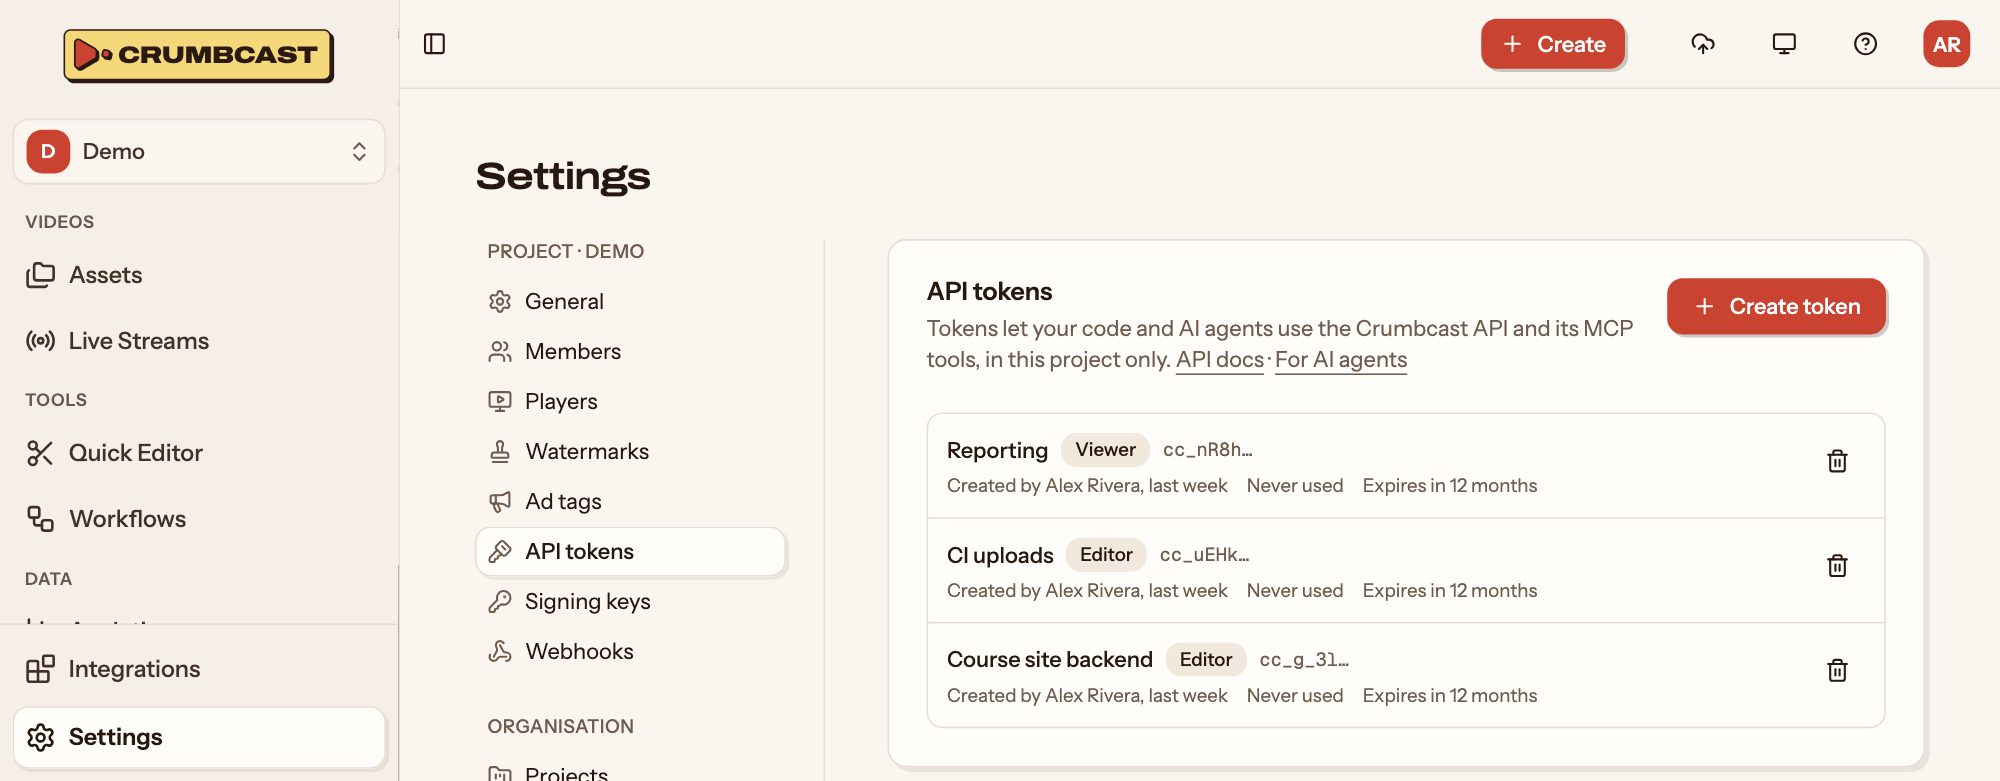
- Go to Settings → API tokens, and click Create token.
- Name it for what it's for (such as "CI uploads"), pick its role and when it expires.
- Copy it. You won't see it again: keep it as secret as a password.
Each token shows who made it and when it was last used. Revoke one, and requests made with it are refused from then on. See Authentication and Getting started for AI agents.
Signing keys
A signed video plays for whoever has a viewer link, with no code. For a site with its own sign-in, your backend can let its viewers in instead, with a short-lived playback token signed with one of the project's keys.
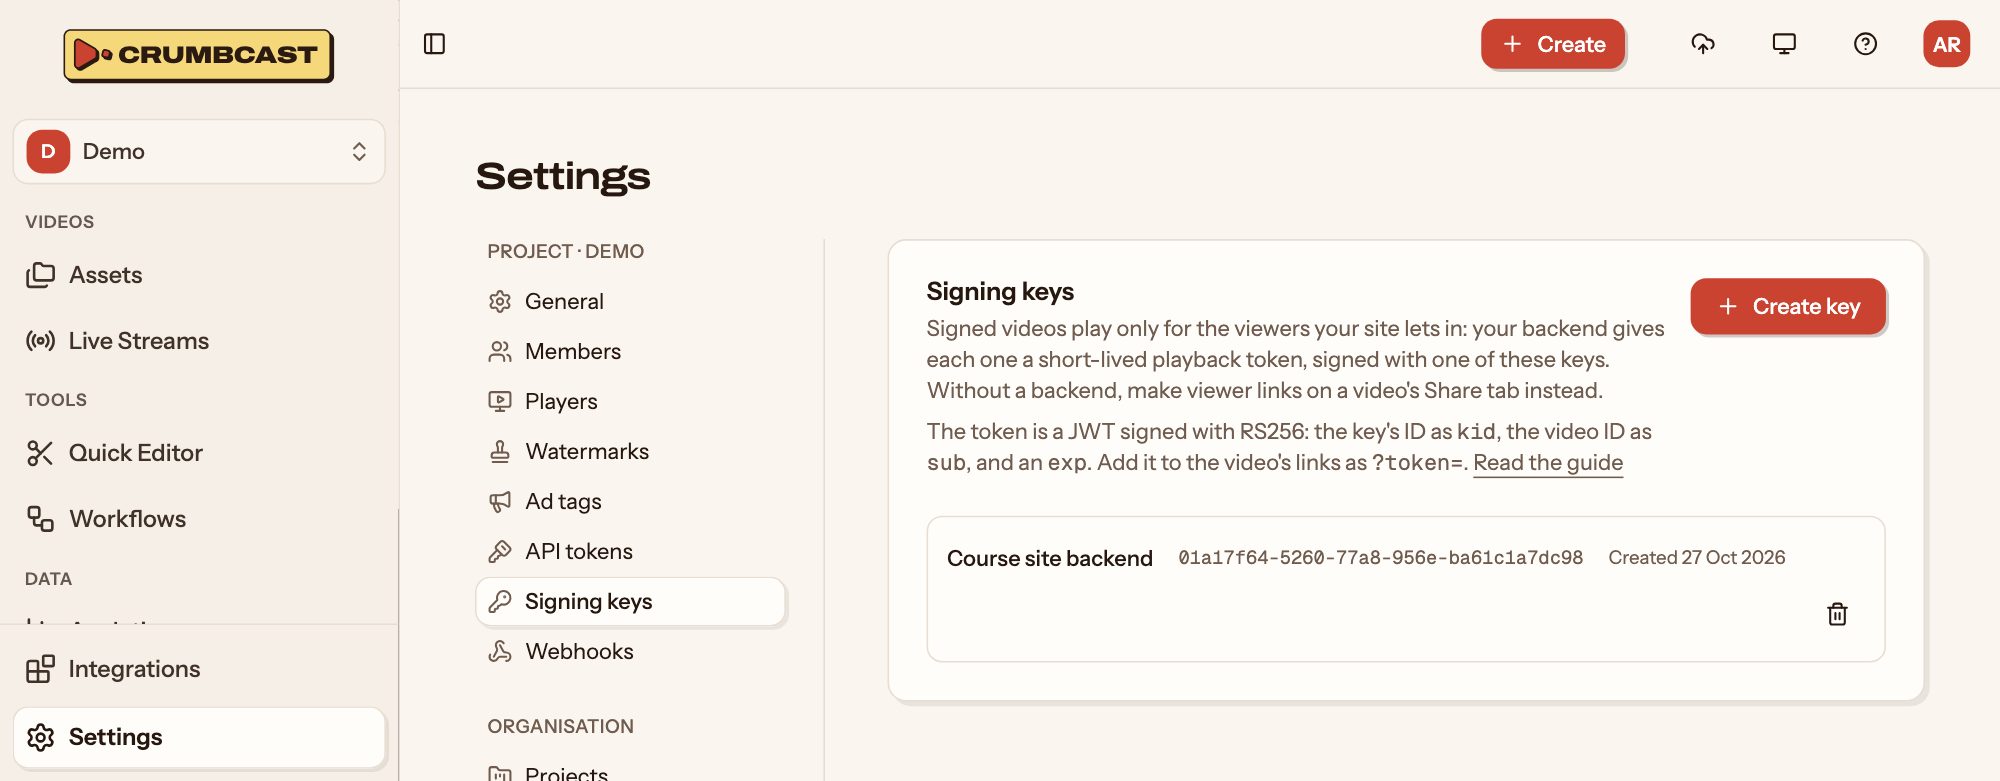
- Go to Settings → Signing keys, name a key (such as "Production"), and click Create key.
- Download its private key (Download .pem) or copy it to your backend's secrets. It's shown only this once: Crumbcast keeps only the public half.
Deleting a key stops the tokens signed with it right away. See Signed playback.
Webhooks
A webhook tells your backend when something happens to the project's videos or live streams: a video is ready, a format failed, a broadcast starts or ends.
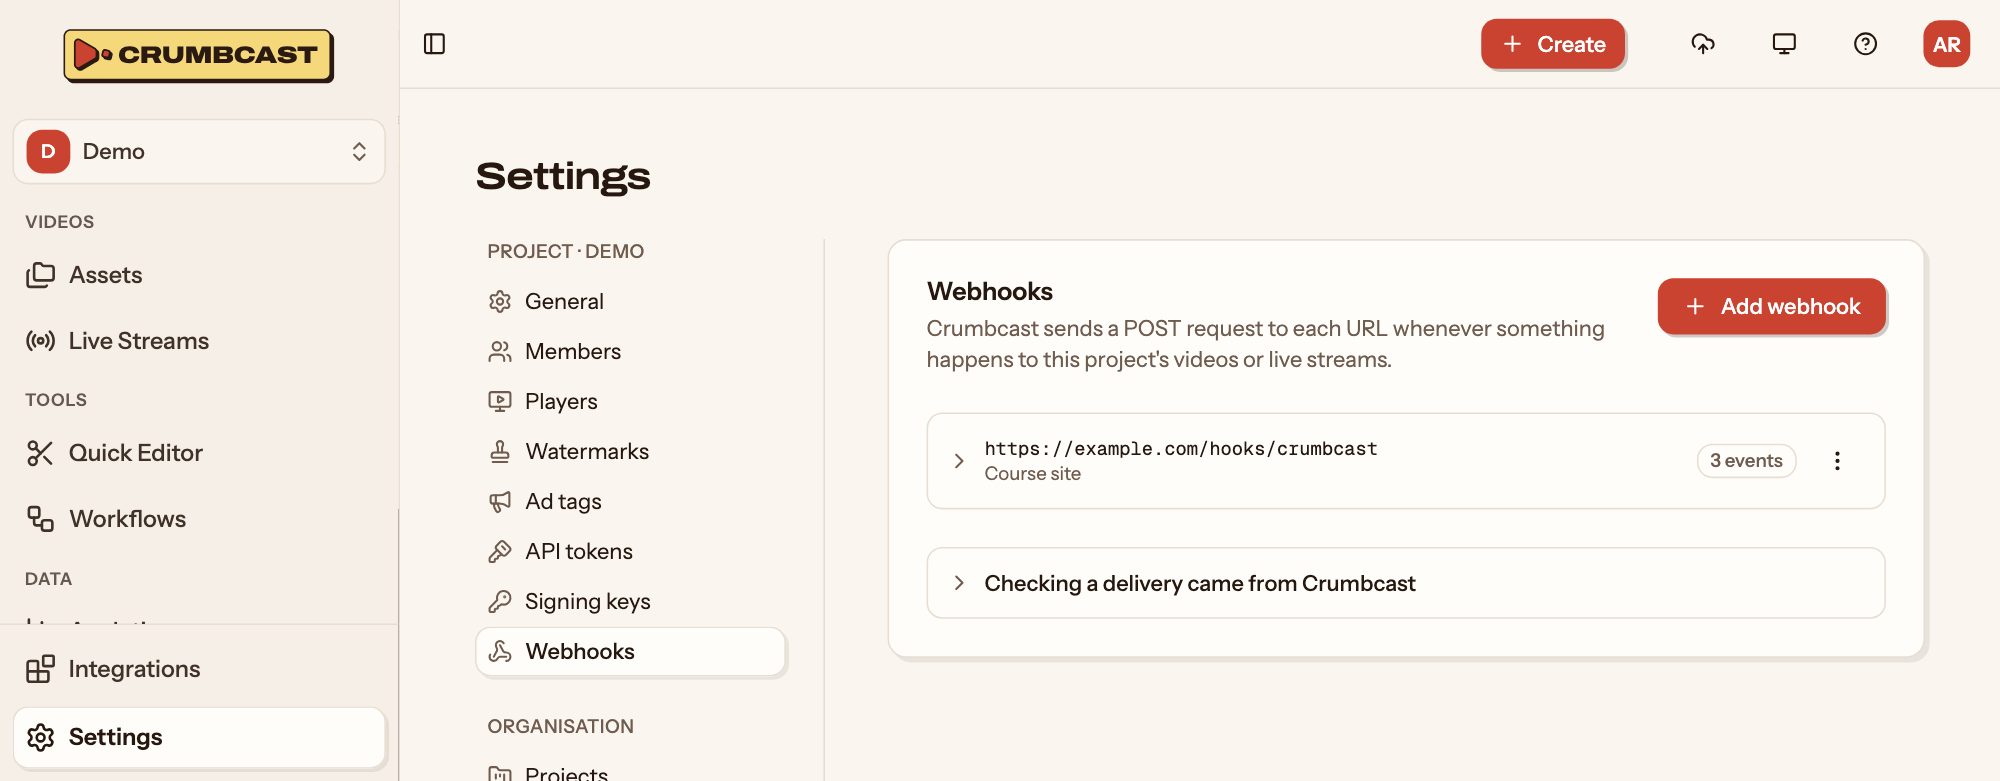
- Go to Settings → Webhooks, and click Add webhook.
- Paste the URL to send to (
https://…), and pick its events, or every event. - Save it, and copy its secret for your receiver, which checks each request's signature with it.
Open a webhook to send a test, and to see each delivery and the answer it got. Deliveries that fail are tried again for about 42 hours. See Webhooks.